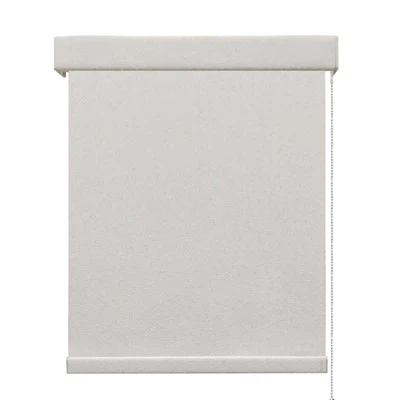
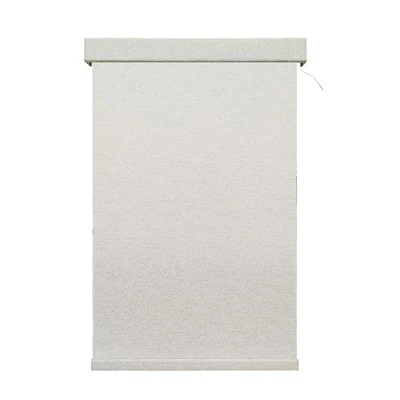
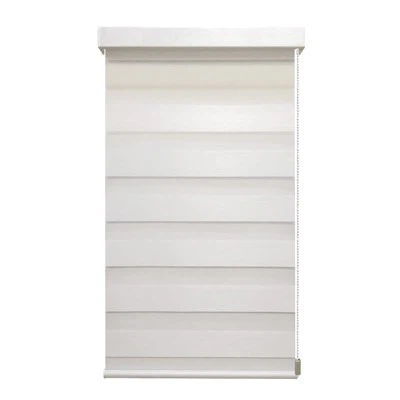
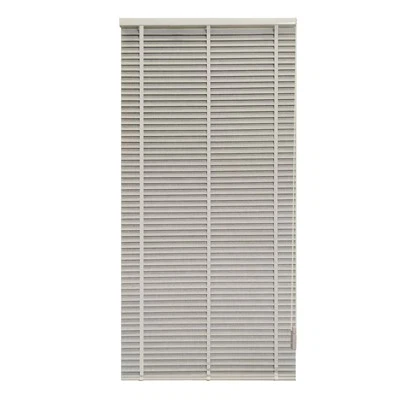
Making your own roman blinds can be a rewarding DIY project that adds a touch of elegance and functionality to your windows. As a supplier of roman blinds, I've seen firsthand the beauty and versatility these window treatments offer. In this guide, I'll share the step-by-step process of creating your own roman blinds, from measuring your windows to adding the finishing touches.
Step 1: Measure Your Windows
The first step in making roman blinds is to measure your windows accurately. You'll need to measure the width and height of your window opening, as well as the depth of the window casing. These measurements will determine the size of your blinds and ensure a proper fit.


- Width: Measure the width of your window opening at the top, middle, and bottom. Use the smallest measurement to ensure your blinds fit snugly inside the window casing.
- Height: Measure the height of your window opening from the top of the casing to the sill. If you want your blinds to cover the entire window, add a few inches to this measurement for the header and hem.
- Depth: Measure the depth of your window casing to determine the maximum width of your blinds. Your blinds should fit comfortably inside the casing without rubbing against the sides.
Step 2: Choose Your Fabric
Once you have your measurements, it's time to choose your fabric. Roman blinds can be made from a variety of materials, including cotton, linen, silk, and synthetic blends. Consider the style and function of your blinds when choosing your fabric.
- Style: Choose a fabric that complements the decor of your room. Solid colors, patterns, and textures can all add a unique touch to your blinds.
- Function: Consider the amount of light and privacy you want your blinds to provide. Lightweight fabrics may allow more light to filter through, while heavier fabrics may provide more privacy.
- Durability: Choose a fabric that is durable and easy to clean. If your blinds will be exposed to sunlight or moisture, look for a fabric that is fade-resistant and water-repellent.
Step 3: Cut Your Fabric
After you've chosen your fabric, it's time to cut it to size. Use a sharp pair of scissors or a rotary cutter to cut your fabric according to your measurements. Be sure to add a few inches to the width and height of your fabric for the header, hem, and seams.
- Header: The header is the top part of your blinds that attaches to the window casing. Cut a strip of fabric that is the same width as your blinds and about 3-4 inches tall.
- Hem: The hem is the bottom part of your blinds that gives them a finished look. Cut a strip of fabric that is the same width as your blinds and about 2-3 inches tall.
- Seams: Sew the sides of your fabric together using a straight stitch. Leave a small opening at the top of one side for the cord or chain.
Step 4: Add the Hardware
Once you've cut and sewn your fabric, it's time to add the hardware. You'll need a few basic tools and materials, including a drill, screws, brackets, and a cord or chain.
- Brackets: Install the brackets on the window casing using a drill and screws. Make sure the brackets are level and evenly spaced.
- Cord or Chain: Thread the cord or chain through the opening at the top of your blinds and attach it to the brackets. You can choose from a variety of cord or chain options, including Motorized Roman Blind, Cordless Roman Blind, and Chain Roman Blind.
- Tape or Rings: Add tape or rings to the back of your blinds to create the folds. You can use a special roman blind tape or make your own using ribbon or twill tape.
Step 5: Assemble Your Blinds
After you've added the hardware, it's time to assemble your blinds. Start by attaching the header to the top of your fabric using a straight stitch. Then, fold the fabric up to create the folds and attach the tape or rings to the back of the fabric.
- Folds: Fold the fabric up at regular intervals to create the folds. The number of folds will depend on the height of your blinds and the amount of fullness you want.
- Tape or Rings: Attach the tape or rings to the back of the fabric using a straight stitch. Make sure the tape or rings are evenly spaced and aligned with the folds.
- Cord or Chain: Thread the cord or chain through the tape or rings and attach it to the bottom of the blinds. You can use a cord lock or a chain tensioner to adjust the length of your cord or chain.
Step 6: Install Your Blinds
Once you've assembled your blinds, it's time to install them on your window. Use a drill and screws to attach the brackets to the window casing. Then, hang your blinds on the brackets and adjust the cord or chain to the desired length.
- Brackets: Make sure the brackets are level and evenly spaced. Use a level to ensure that your blinds hang straight.
- Cord or Chain: Adjust the cord or chain to the desired length. You can use a cord lock or a chain tensioner to keep the cord or chain in place.
- Test Your Blinds: Test your blinds to make sure they open and close smoothly. If you have any problems, adjust the cord or chain or the brackets as needed.
Step 7: Add the Finishing Touches
After you've installed your blinds, it's time to add the finishing touches. You can add a valance or a decorative trim to the top of your blinds to give them a more polished look.
- Valance: A valance is a decorative panel that covers the top of your blinds. You can make a valance from the same fabric as your blinds or choose a coordinating fabric.
- Decorative Trim: Decorative trim, such as lace, ribbon, or fringe, can add a unique touch to your blinds. You can sew the trim to the edges of your blinds or attach it using glue or tape.
Conclusion
Making your own roman blinds is a fun and rewarding DIY project that can add a touch of elegance and functionality to your windows. By following these steps, you can create custom blinds that fit your windows perfectly and complement the decor of your room. If you have any questions or need further assistance, please don't hesitate to contact us. We're here to help you with all your roman blind needs. Whether you're looking for Motorized Roman Blind, Cordless Roman Blind, or Chain Roman Blind, we have a wide range of options to choose from. Contact us today to discuss your project and get started on creating the perfect roman blinds for your home.
References
- "DIY Roman Blinds: A Step-by-Step Guide." The Spruce.
- "How to Make Roman Blinds." Better Homes & Gardens.
- "Roman Blinds: A Complete Guide." Houzz.